We are going to show you how Tigerappcreator works and go through the entire process of creating an application.
Once you’re registered, you will access this page:
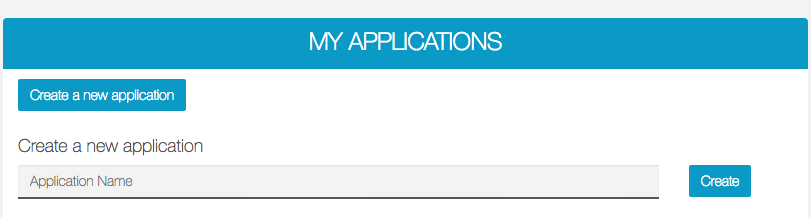
You can either start by creating an application or, if you are a reseller, creating your white label administration interface. A white label administration interface enables your clients to handle the everyday management of their applications by connecting to your domain name, rather than by accessing tigerappcreator.com. Your clients won’t see us at all. Click here to learn how to create your white label administration interface.
Now we are going to examine the process of creating an application.
Enter an Application Name (here, we will use My Awesome App) and click on ![]() . You reach this page:
. You reach this page:
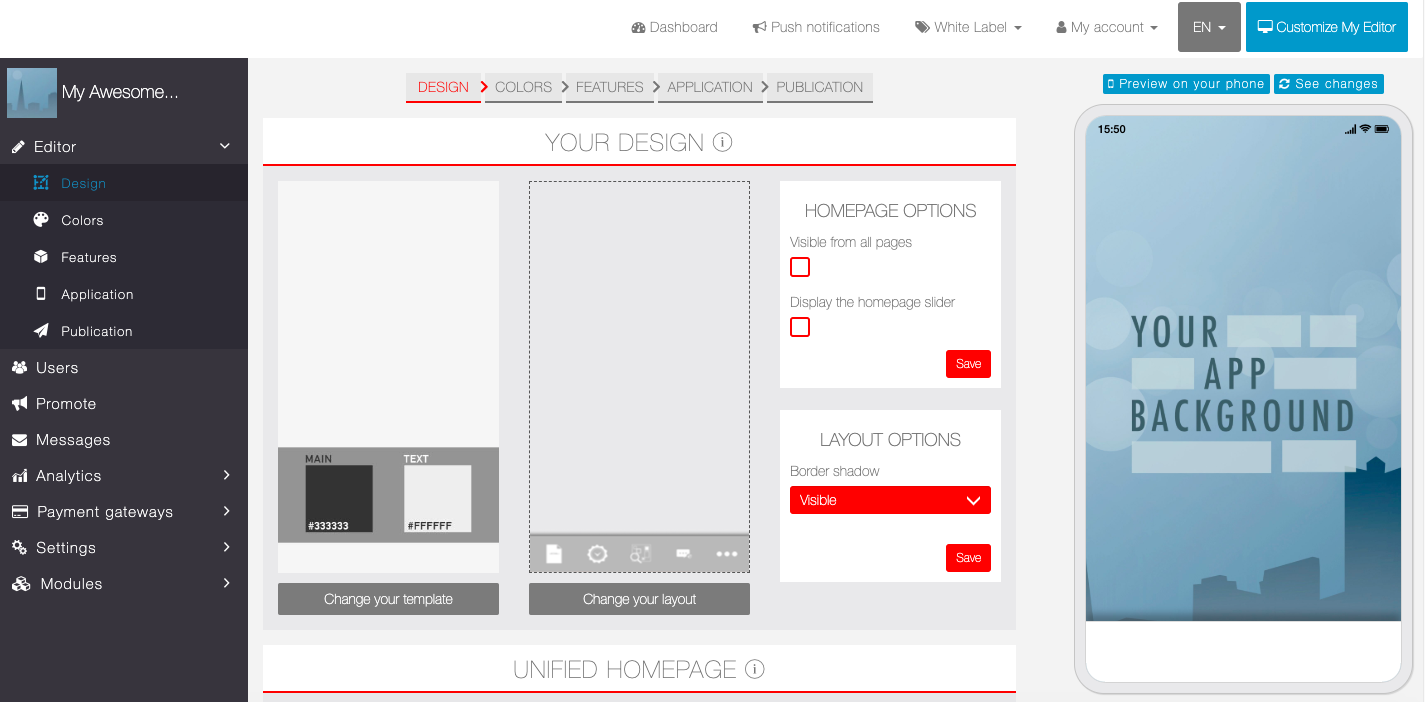
That’s what we call, the Editor. At the left, you have five menus, you can find more information about them here. At the right, you have a phone simulator, called Overview. It’s not a real phone, so some features are disabled, but you will be able to see and test your changes.
Then, on the middle, you have five tabs:

Let’s see them one by one in details.
First, you have the “Your Design” section:
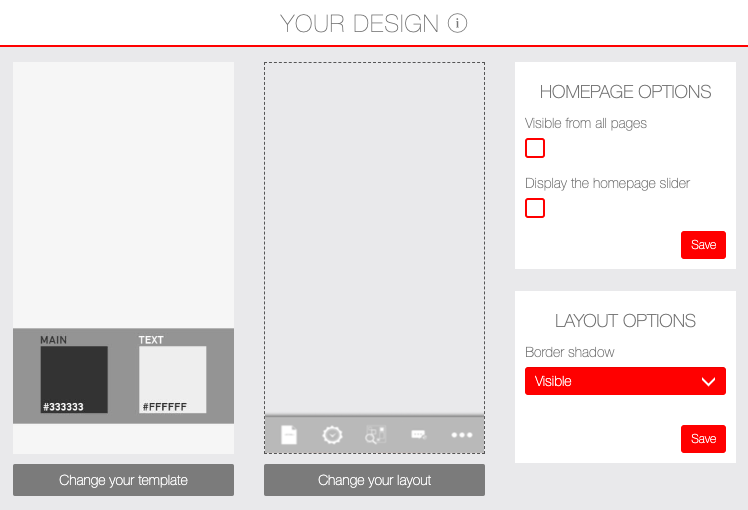
Here you can change your template:
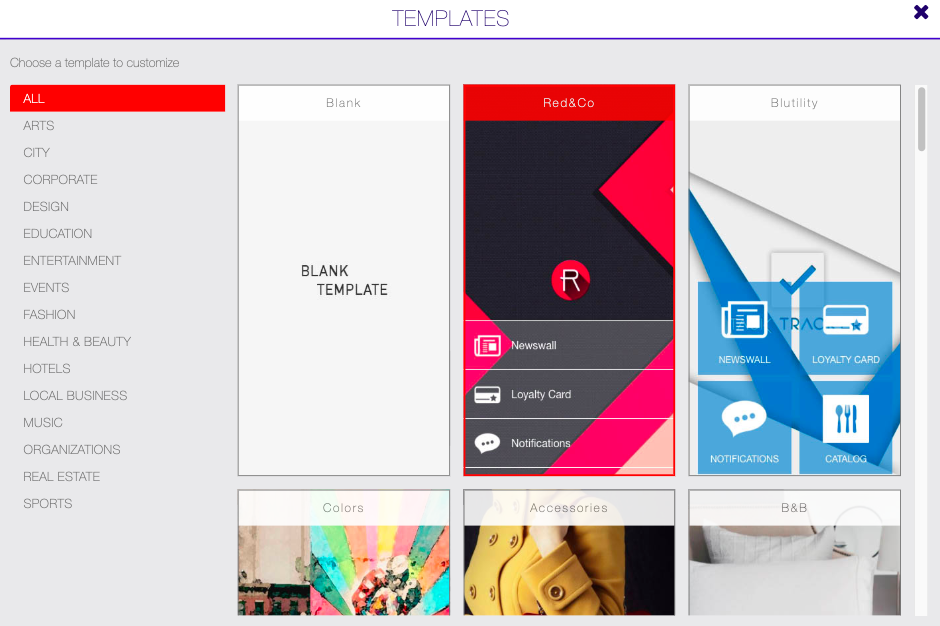
I will choose the Red&Co template. It will change the background of the app, some colors, the homepage images and fill the app with some features. If you want to fully customize your app, do not select a template.
You can also change the layout:
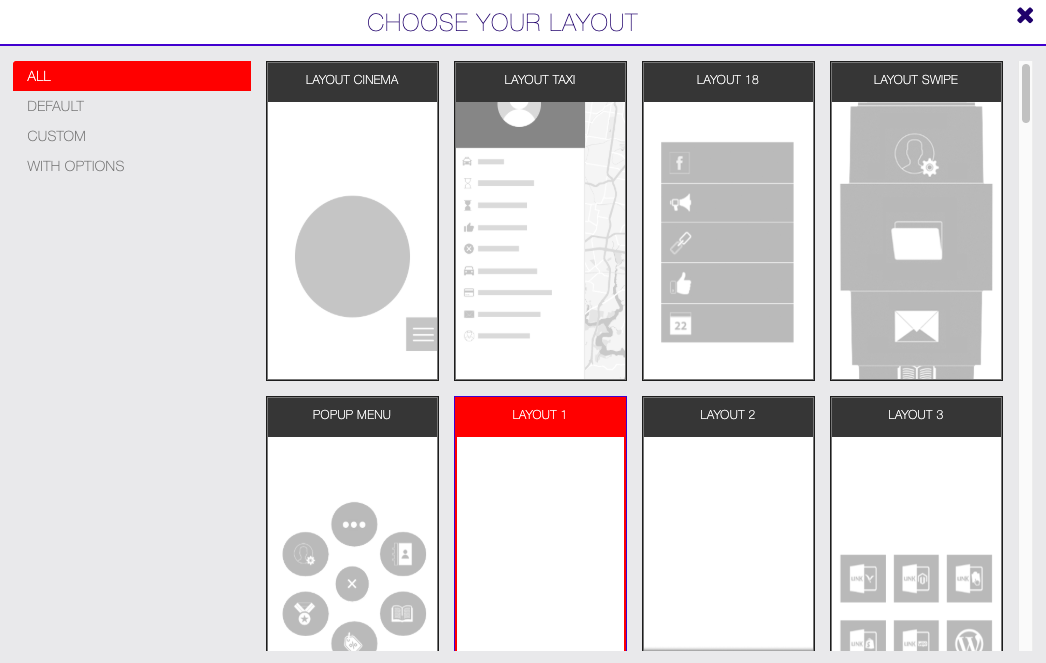
The layout is the way the menu will behave. For example, if you want your features displayed in a “grid” with round icons, then choose the Layout 4. For this tutorial, we will use the Layout 1.
Finally, you have “Homepage Options” and “Layout Options“:
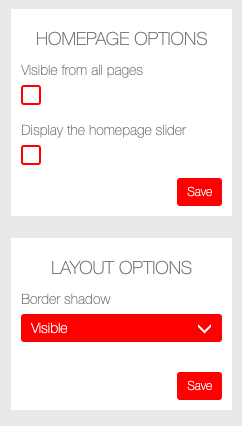
It’s customisation options for the layout, so it will be different depending on the layout you chose. That’s it for the “Your design” section.
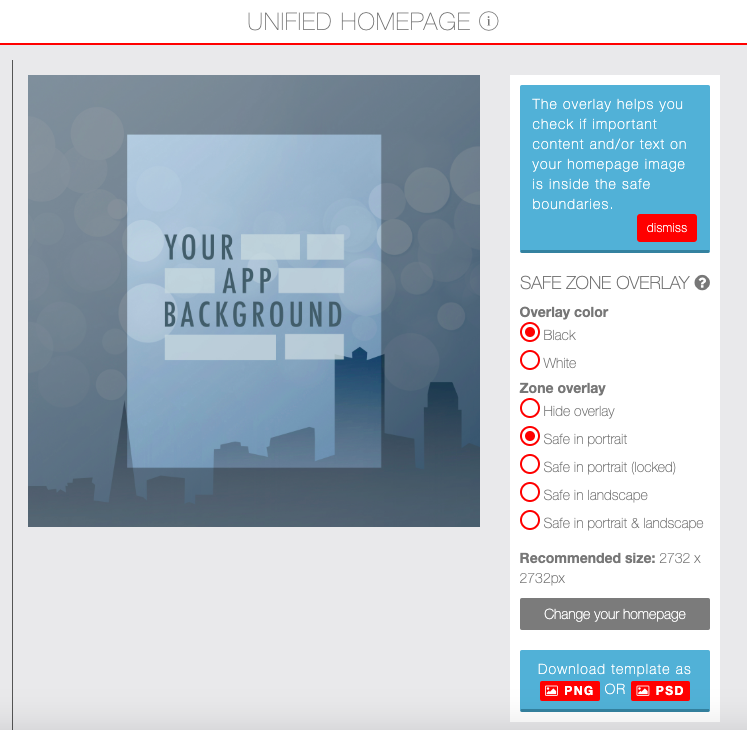
Below, you will have the “Unified homepage” section. In this section you can upload the image that will be used for the homepage of the app.
Then, you have three options:
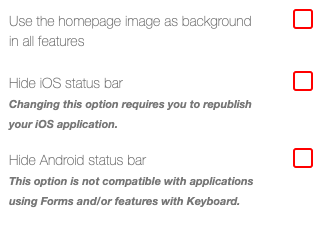
- “Use the homepage image as background in all features“: Self-explanatory
- “Hide iOS status bar“: Check this if you want to hide the status bar at the top of the device when using the app
- “Hide Android Status bar“: Check this if you want to hide the status bar at the top of the device when using the app
You will have to choose your currency and default locale:

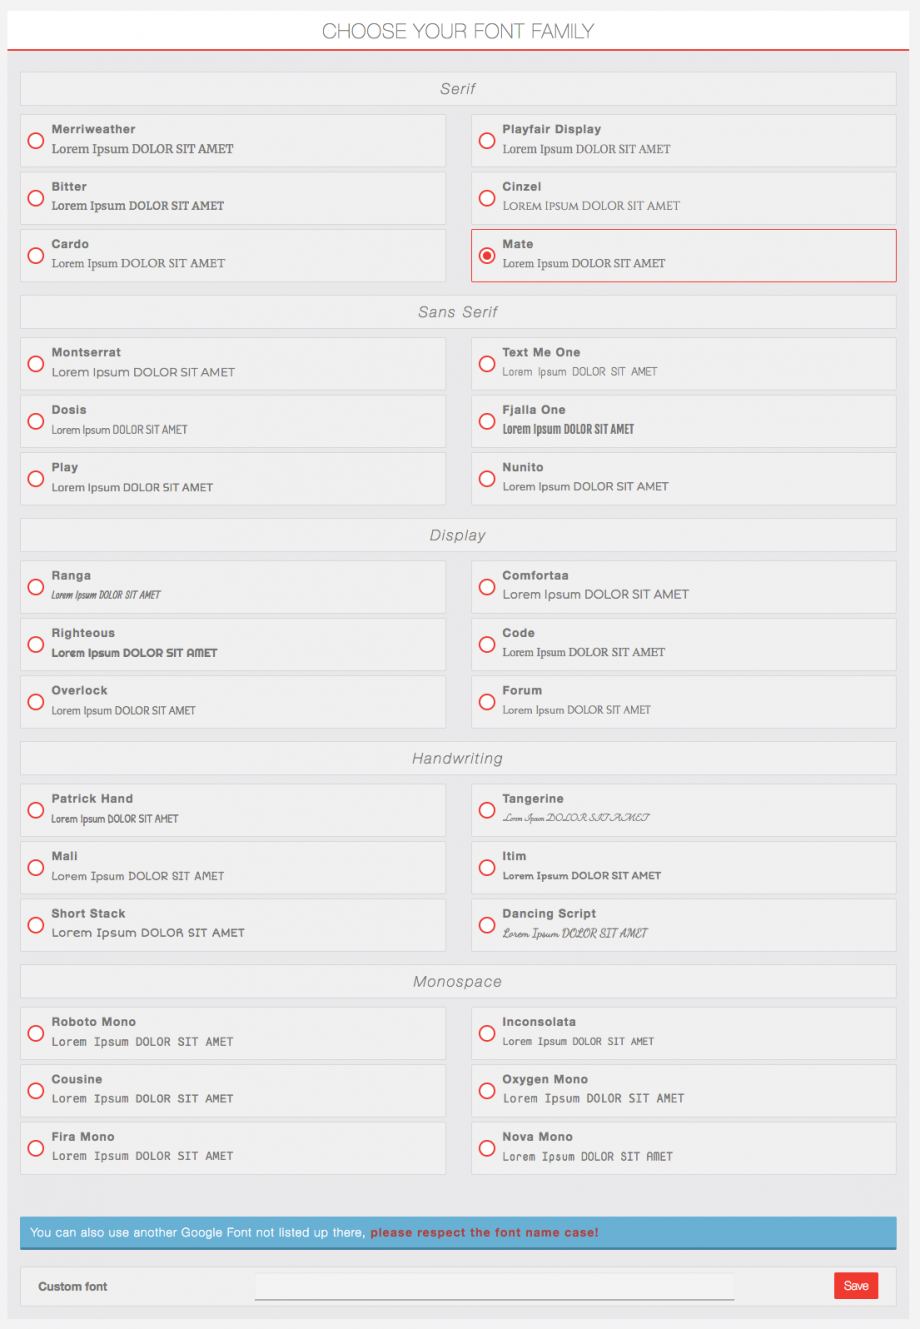
And a default Font Family for your App.
You can select your Font from a readily available Google Fonts set, or if you don’t find one that suits your needs, you can use any Google Font available just with it’s name.
The Colors section is where you will customize every colors in your app. There is also a custom SCSS field to modify the CSS in your app.
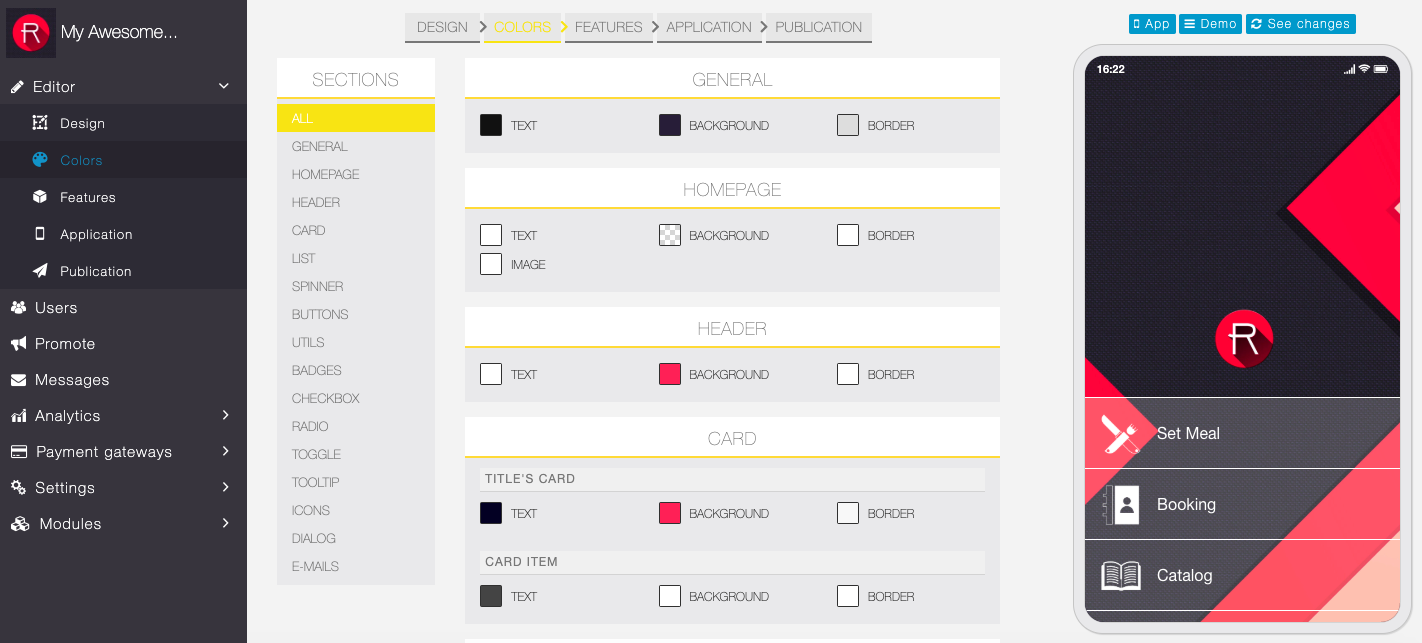
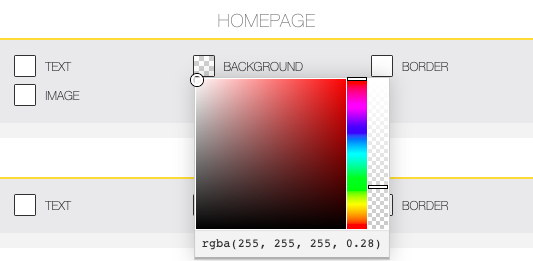
This menu is pretty straight forward, you click on the color, you change it, the scale at the right is the opacity. Best school here is to play with it, you can see your changes live in the overview.
You can find out more info about custom CSS here.
Here is the biggest part of the Editor, that’s where you will add/remove features on your app:
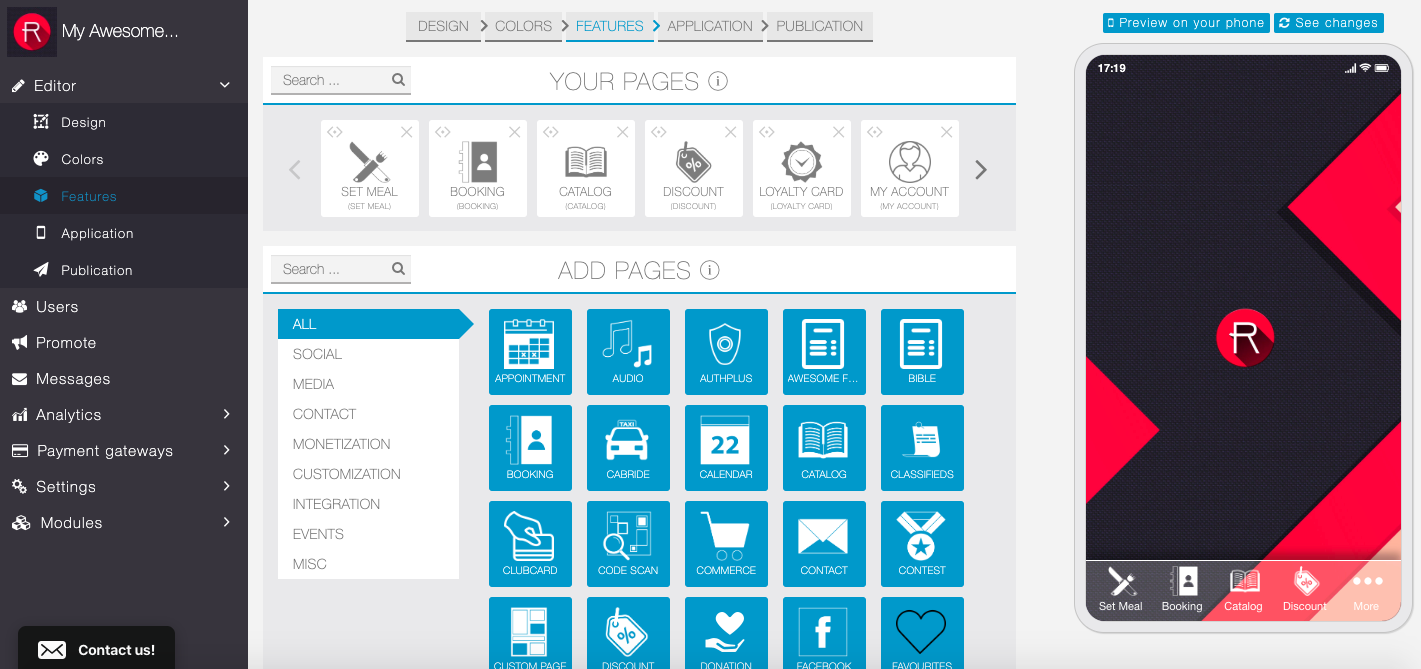
You have two sections, “Your pages” and “Add pages“:
- “Your pages” is where you will manage your features. You can modify the order, you can delete the features, or you can edit them.
- “Add pages” is where you will add features to your app by simply clicking on the feature you want.
That’s all there is to know on this section. You can find out more about features here.
Fill in a page / feature:
To configure a new feature, most of the time you will have to click on the ![]() on the right after having added this feature to your app:
on the right after having added this feature to your app:
![]()
Then fill in the fields according to the features.
Note that you can have other options for a page:
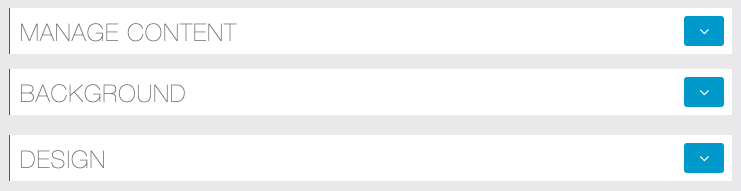
With “Manage content” you can edit, view, remove a previous setting.
With “Background” you can choose a background image for this page.
With “Design”, if available for this page, you can choose a new way of displaying your items in this page. Here is an example for the Discount feature:
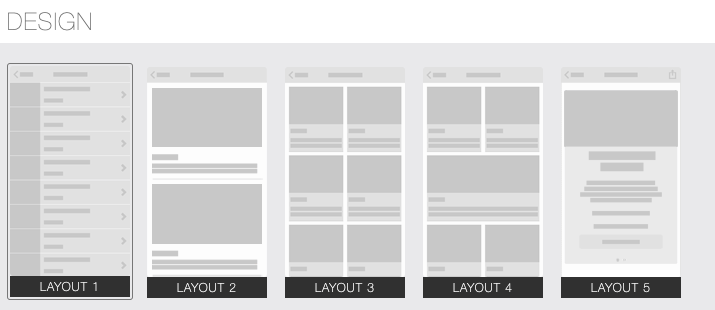
There are 5 layouts available for a discount page.
To rearrange the page order of your application:
At this point, you have added pages to your application and would like to change the page order. To do so, just click on the icon ![]() on one of your features in “Your pages“.
on one of your features in “Your pages“.

And drag and drop the icon from your page to the position where you would like it to be. The modification will be visible in the application preview to the right.
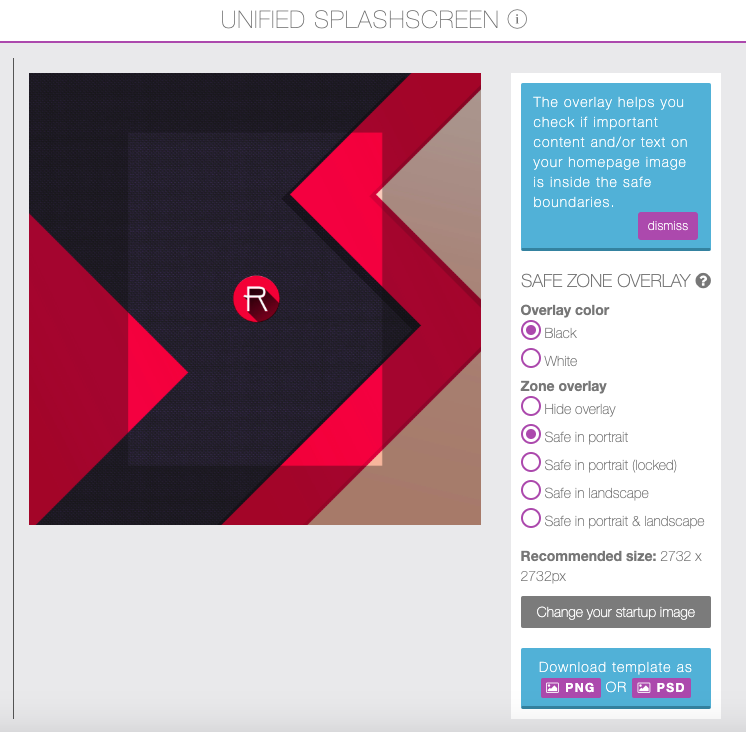
Here you have three sections: “Dashboard Icon/Back button icon“, “Android Push” and “Unified Splashcreen“:
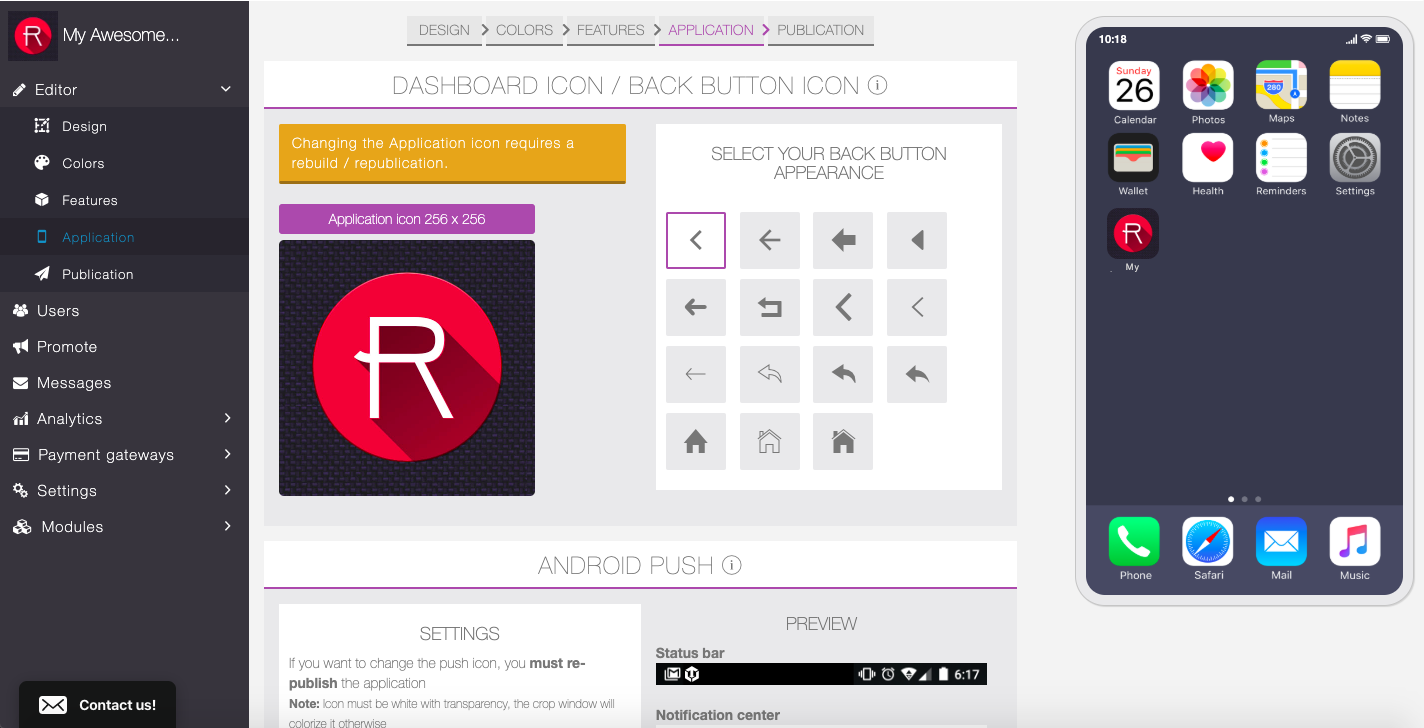
Dashboard Icon is the icon displayed on the home of your device. Back Button icon is the icon of the back button within your app.
Android Push:
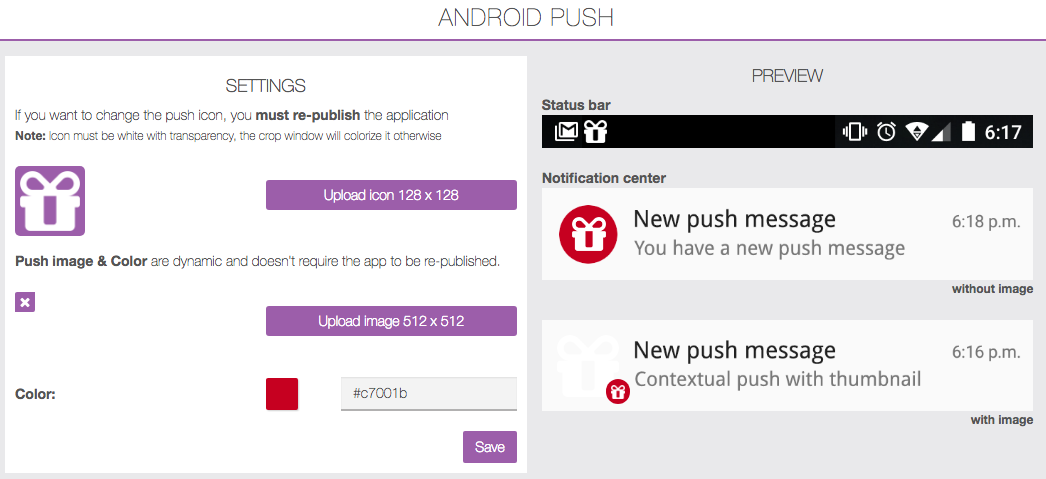
Here I wanted a custom push icon. I found a gift icon here, I uploaded it on both size (128 and 512), and I change the background color to red. On the right you have a live preview of your new push icon.
“Unified Splashscreen” is where you will upload a custom startup image. You will be able to see it when you click on the app icon in the home of your device. It’s a loading screen.
Finally, you have the Publication section, where everything related to publication is displayed.
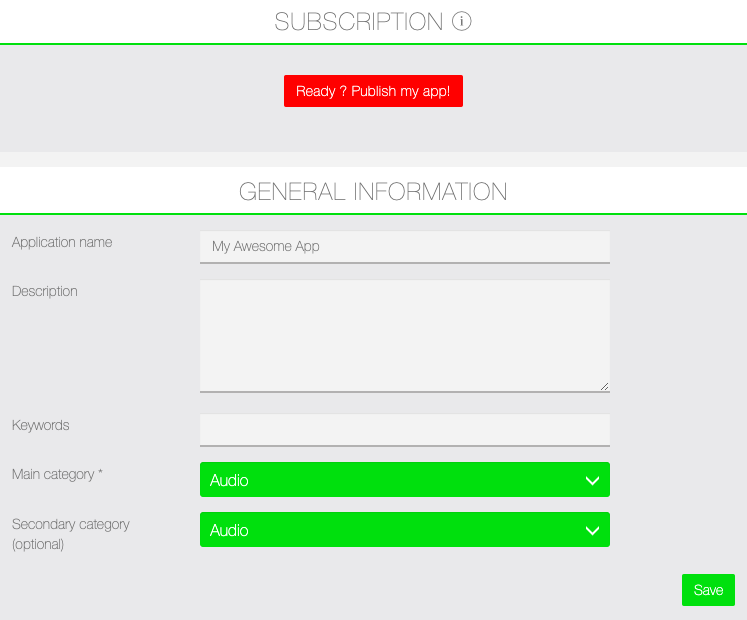
In the “General information” tab, you have to fill five fields:
- “Application name“: It’s filled automatically, it’s the app name.
- “Description“: Give a description of your app, the clearer the better.
- “Keywords“: Think of it like hashtags, if your app is a jewellery shop, type “shop, jewellery”.
- “Main category“: Select the main category of your app.
- “Secondary category“: It’s optional, you can select a secondary category.
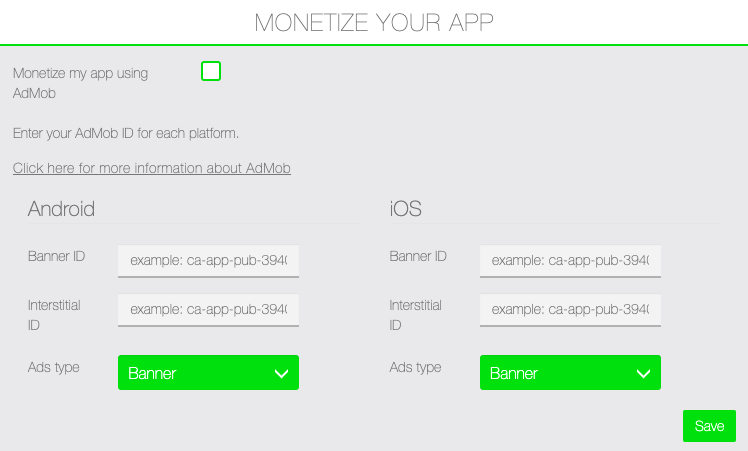
You can use Admob by checking the box “Monetize my app using AdMob?“.
Click here to see the process of creating your AdMob ID.
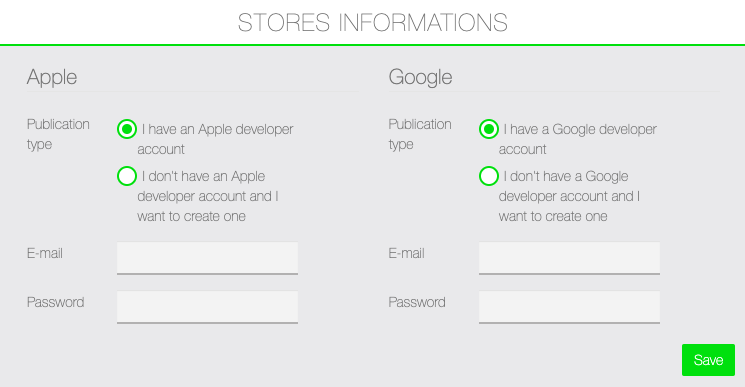
Apple information and Google information:
Before your application is submitted, you will need to open an iOS developper account (for Apple products: IPhone and IPad) and a Google Play account (for Android). These accounts are requisite to release applications in the Apple and Android stores. You will pay $99/year (approximately €79) for an Apple Developer account, and $25 lifetime (approximately €19) for a Google Play Developer account. These accounts enable you to release as many applications as you wish; you will not pay for each application.
If you do not yet have a developer account:
– Click here to create an Apple account
– Click here to create an Android account
Once you have created the accounts, you must enter login information for these stores in the fields provided:
If you are a reseller, or whatever, and want to create a custom url for your webapp (aka mobile website), you need to go in the “Settings > Domain” menu. It’s not mandatory to publish your app, but in “Settings > Domain” you’ll be able to custom the url of your mobile website with your own domain url.
Click here to see the process of creating an address for mobile sites.
YOU’RE DONE! All you have to do is click on ![]() and as soon as your payment goes through, we will submit your application to the stores.
and as soon as your payment goes through, we will submit your application to the stores.
To make sure your application is accepted by Apple, make sure you know the ground rules for all applications.